
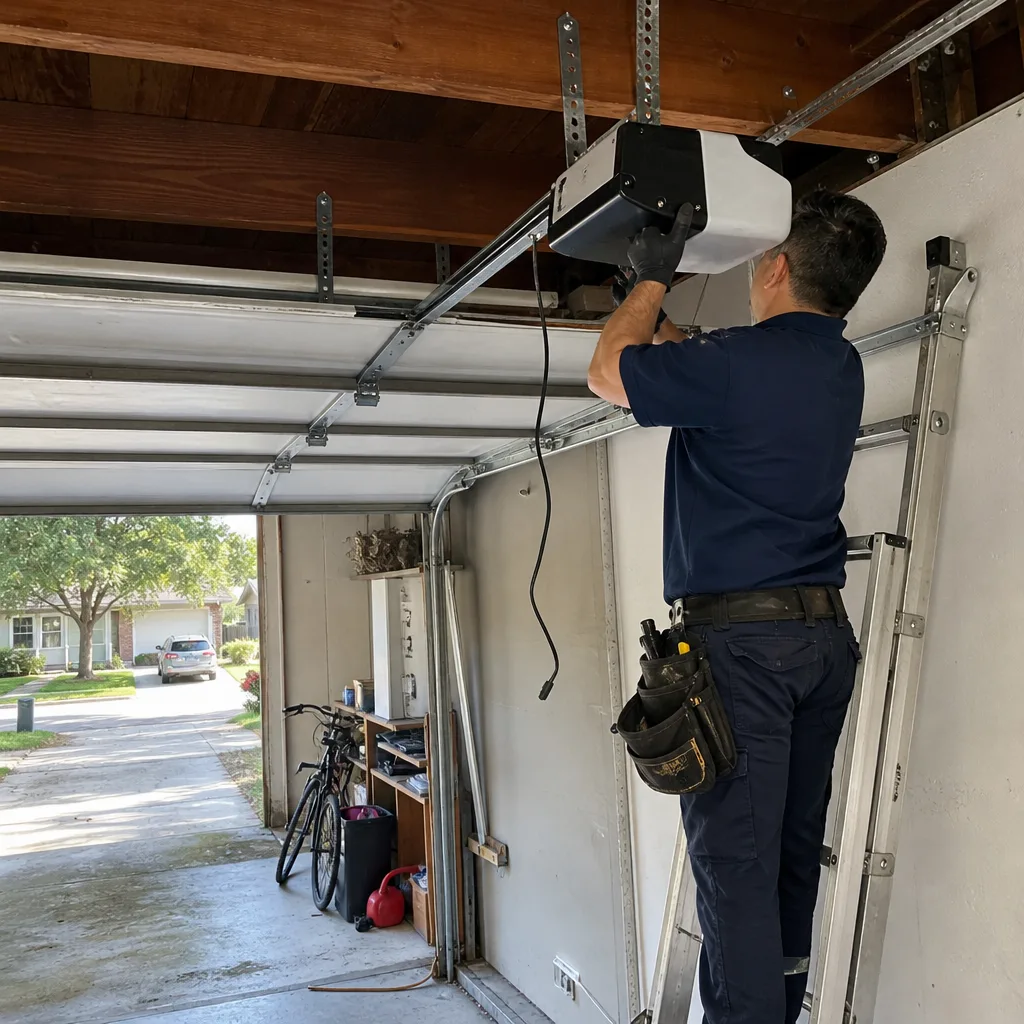
Last updated November 21, 2026
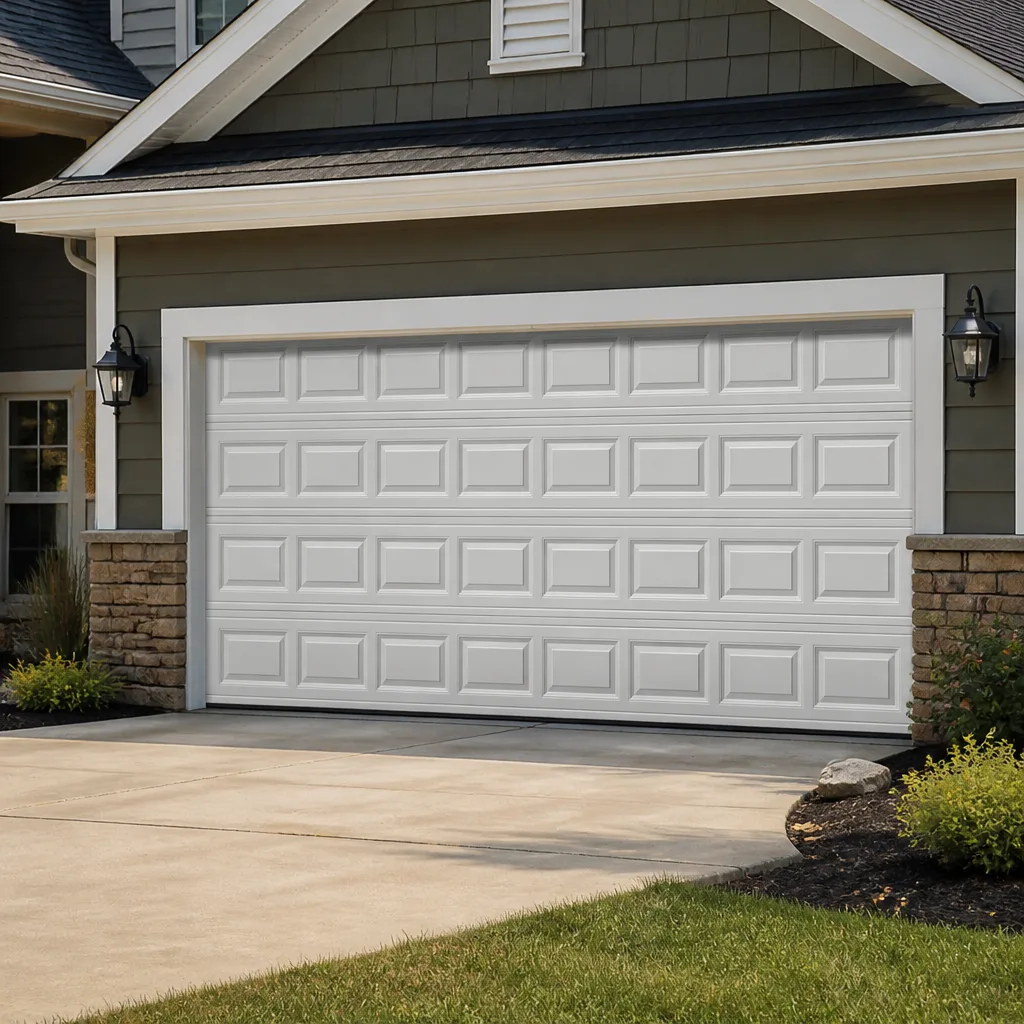 Raised-panel steel
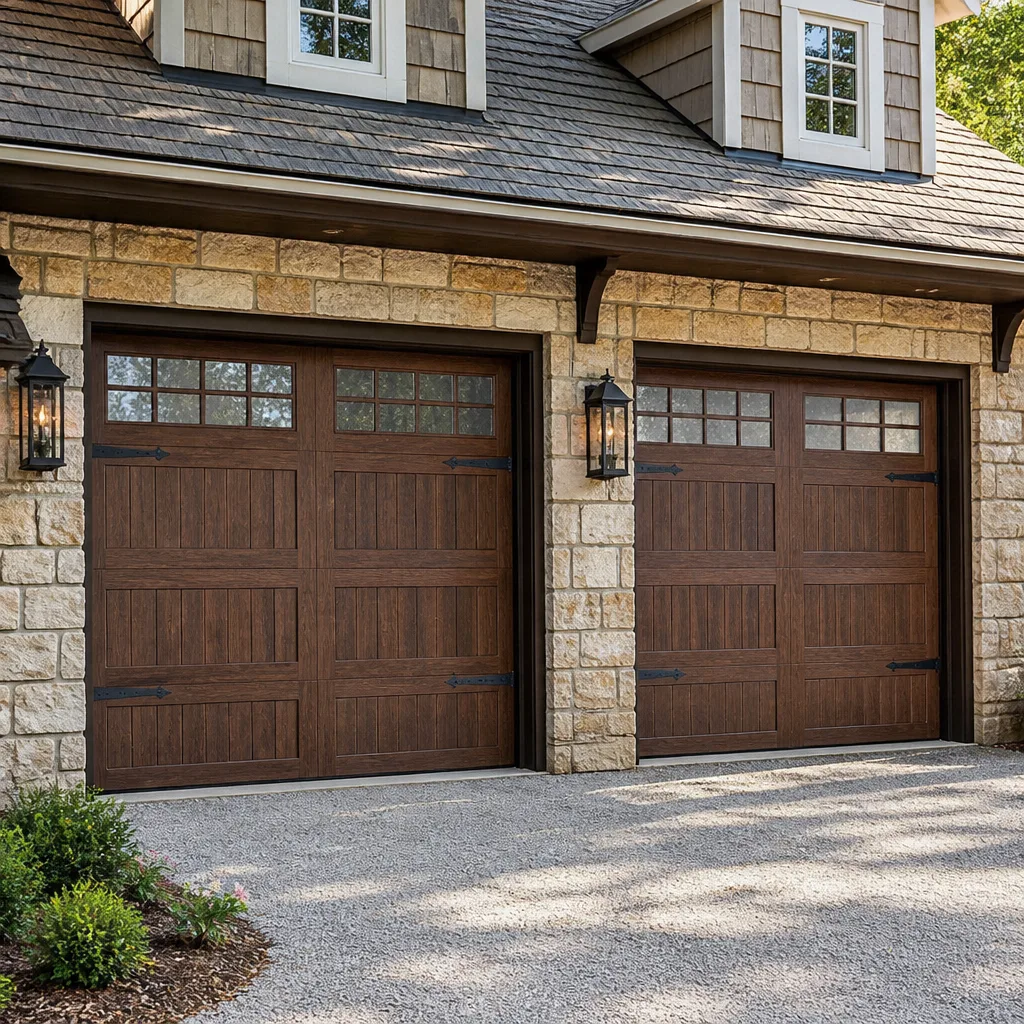 Carriage house
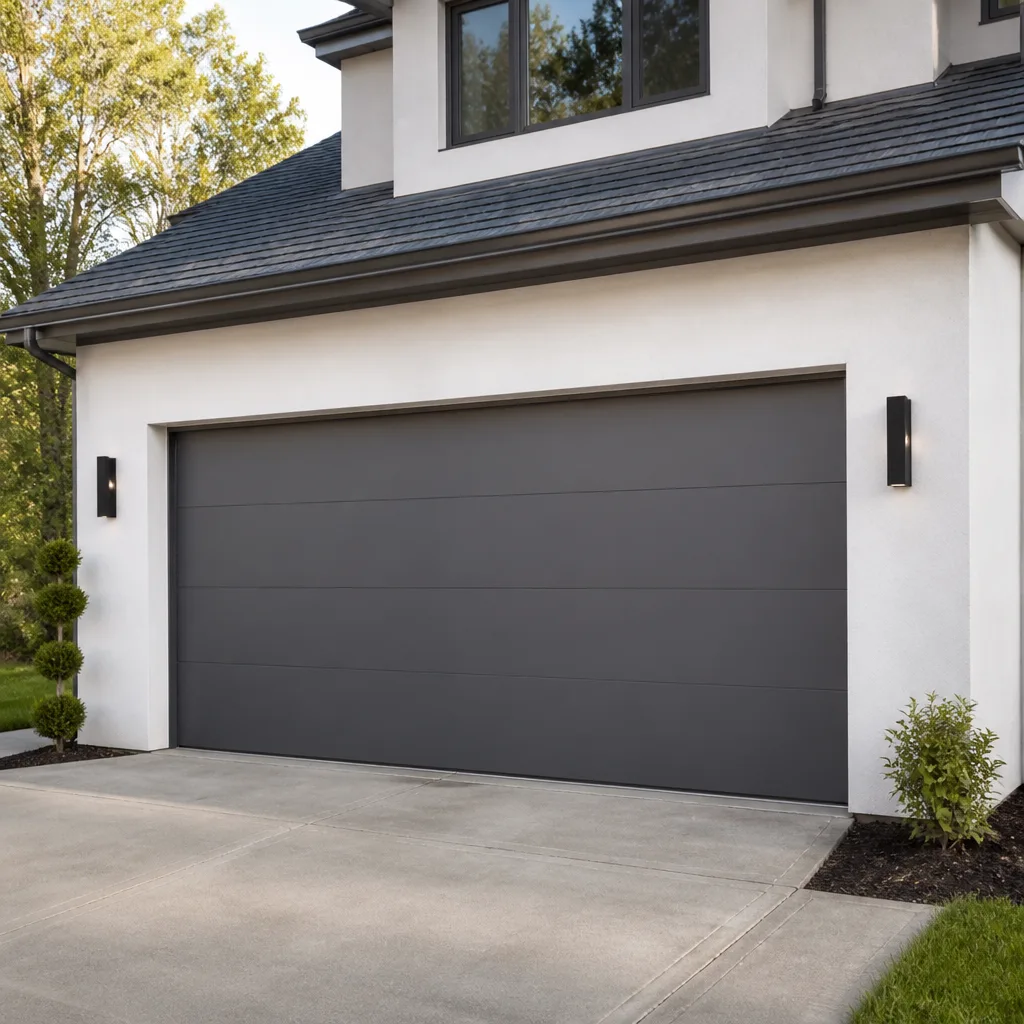 Modern flush
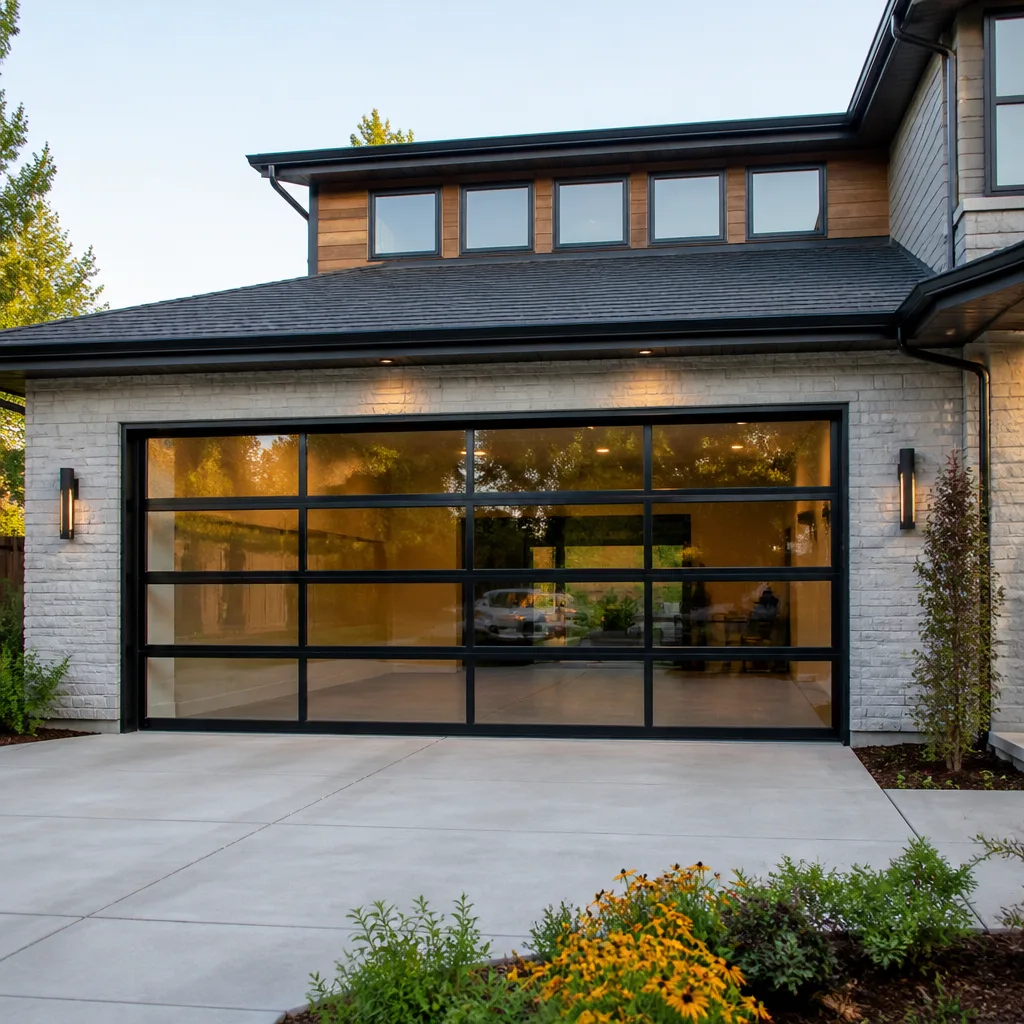 Full-view glass
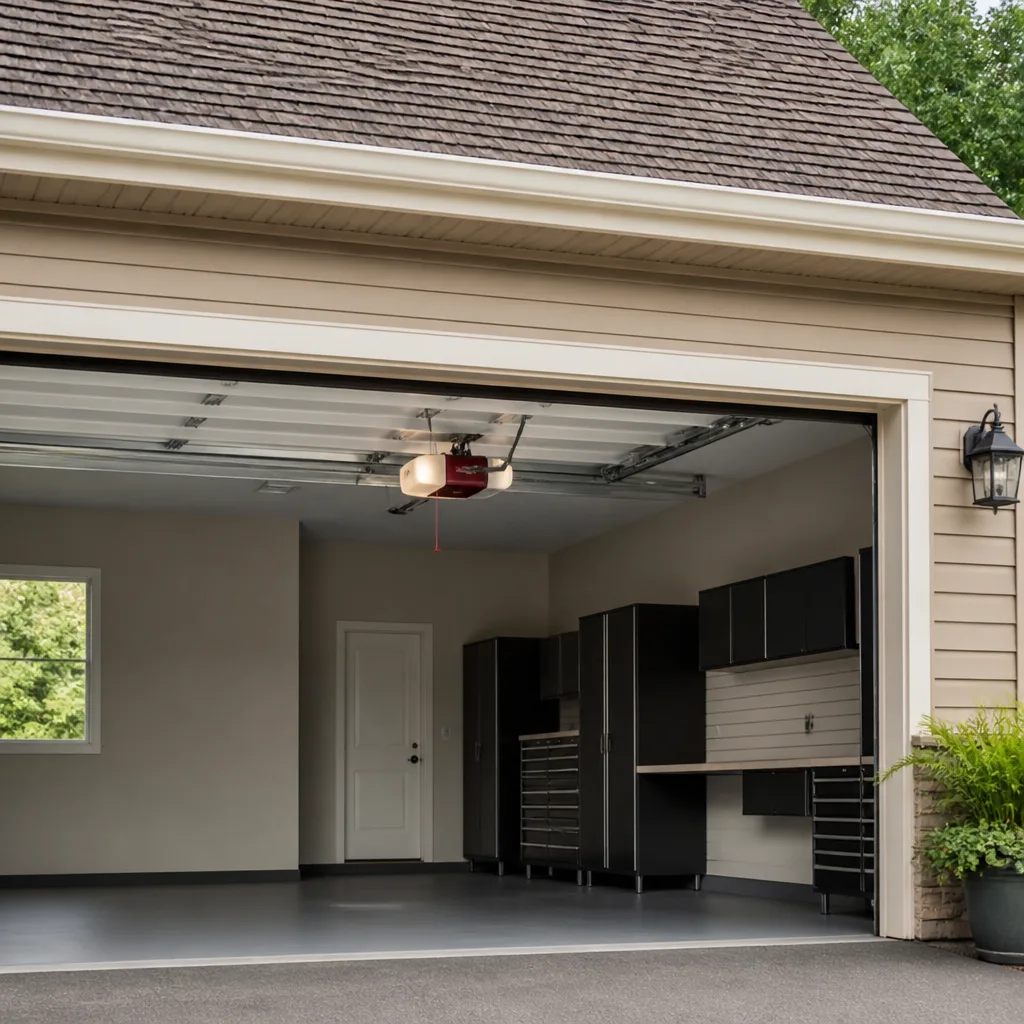 LiftMaster openers
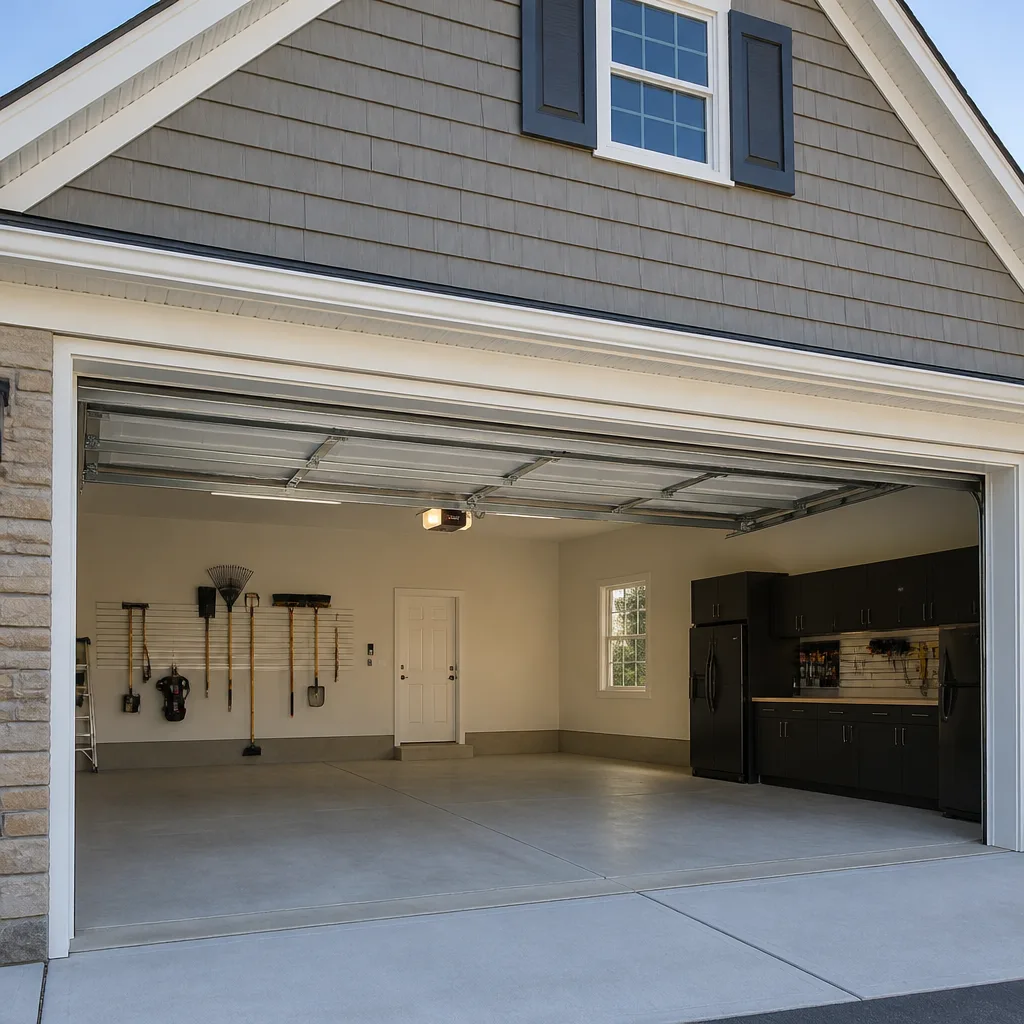 Chamberlain openers
Full 25-point door and opener safety check with every visit - springs, cables, rollers, tracks, and your LiftMaster or Chamberlain opener included
You get a price before we start. It does not change when the pro arrives.
Get your free estimateGarage Door Repair Maintenance Checklist for Meyerland Homeowners
Most garage door checklists you’ll find online are written as if every door in America lives in the same climate. They aren’t, and yours doesn’t. In Meyerland, the failure chain almost always starts small and moves in a predictable order: a weather seal softens in the humidity, moisture works its way into the bottom panel, that panel starts to bow, and eventually the door binds in the track. Four separate problems that all began as a strip of rubber you could have replaced for the price of lunch. This guide walks you through a 12-point checklist ordered by how often we actually see each failure here, the lubrication products that survive Houston heat and the ones that turn to glue on a torsion spring, a safe way to test your door’s auto-reverse, and a simple log template that shortens diagnosis time when you do need a technician.
Quick Answer
A good maintenance checklist for a Meyerland garage door runs every three to six months and covers, in order of how often problems show up here: the weather seal, the bottom panel, the balance of the door, the track alignment, the rollers, the hinges, the lift cables, the torsion spring’s visual condition, the opener’s auto-reverse, the photo-eye safety sensors, the opener’s force settings, and the hardware fasteners. Check the seal and panel first, because in this humidity they fail first and cause most of what you’ll find downstream. Anything involving the torsion spring or cables belongs to a trained technician, not a weekend project.
Styles & brands we work with
- Raised-panel steel
- Carriage house
- Modern flush
- Full-view glass
- LiftMaster openers
- Chamberlain openers
Table of Contents
- Why the Order of This Checklist Matters in Meyerland
- Points 1-4: The Seal, the Bottom Panel, the Balance, the Track
- Points 5-8: Rollers, Hinges, Cables, and Reading Spring Fatigue Safely
- Points 9-12: Auto-Reverse, Photo-Eyes, Force Settings, Fasteners
- Which Lubricants Survive Houston Heat (and Which Don’t)
- Building a Door Log That Shortens Diagnosis Time
- Common Mistakes to Avoid
- When to Call a Professional
Why the Order of This Checklist Matters in Meyerland
Alphabetical checklists and checklists organized by “component group” both miss the point. What you want is a checklist ordered by failure frequency in your climate, because the first thing you check is the thing most likely to be wrong, and the last thing you check is the thing least likely to need attention. In Meyerland, that order is driven by humidity and heat, and it looks nothing like a checklist written for a dry, cold climate.
Here’s the chain. High summer humidity keeps the rubber weather seal along the bottom of the door soft. A soft seal flattens under the door’s weight instead of springing back, so it stops sealing tightly against the slab. Moisture then collects along the bottom section, which on many doors is steel or a steel-skinned composite. That’s where edges and seams start to show rust first. Once the bottom panel absorbs or rusts, it can bow or delaminate slightly, and the door is no longer flat. A door that isn’t flat doesn’t roll evenly, so it starts to bind against one side of the track. That binding loads the rollers unevenly, and now you’re replacing parts that were fine three months ago.
That’s the sequence. Four failures, one root cause, and it all begins at the seal. When we talk to a Meyerland homeowner about garage door repair, this is the first pattern we look for, because a door that’s binding often needs a seal and a panel adjustment, not a major mechanical repair. Catching it in order saves the most money and the most time.
A second local factor is heat. A garage in Meyerland can sit well above the outdoor temperature on a still afternoon, and the attic above it radiates down into the space. Metal expands, lubricant thins, and rubber softens further. That’s why the products you choose in points 5 and 6 matter more here than they would in a cooler climate. It’s also why the checklist should be run before the hottest stretch of the year, not after it, when the damage is already done.
Points 1-4: The Seal, the Bottom Panel, the Balance, the Track
These four points catch the most common problems in Meyerland, and they’re all things you can check safely without touching a spring or a cable.
Point 1: The weather seal. With the door closed, look along the bottom edge. The seal should sit flat against the concrete without a visible gap. Run a hand along the underside and feel for hardening, cracking, or a section that’s torn away. A seal that’s gone stiff won’t spring back. If you can slide a piece of paper under the door at any point, the seal isn’t doing its job there. This is the cheapest thing on the entire checklist, and replacing it early prevents points 2 through 4.
Point 2: The bottom panel. Look at the bottom section of the door from both sides. On a Clopay or Amarr steel door, the usual signs are bubbling paint along the bottom edge, orange staining at the seams, or a slight curve you can see when you sight down the panel from the side. A bowing bottom panel changes how the whole door rolls.
Point 3: The balance. Disconnect the opener (there’s a pull cord on most LiftMaster and Chamberlain units) and lift the door halfway by hand. It should stay where you let go. If it drifts down, the springs are losing tension. If it wants to rise on its own, they’re too tight. Never test this with the door connected to the opener, and never test it by standing under the door.
Point 4: The track. With the door closed, stand at one side and sight down the vertical track like you’re aiming a rifle. It should look straight. Any bend, kink, or section where the door’s edge is closer to the track on one side than the other means the door is binding. Clean the track with a dry cloth; never grease a track. Grease attracts grit and the rollers will wear out fast.
Points 5-8: Rollers, Hinges, Cables, and Reading Spring Fatigue Safely
Points 5 through 8 move from the door’s surface into the moving hardware. You can inspect all of these visually, but cable and spring work is where you stop and call in a technician.
Point 5: The rollers. Open the door partway and look at each roller where it meets the hinge. A steel roller that’s worn flat on one side, or that wobbles in the hinge, is on its way out. Nylon rollers last longer than steel and are quieter, but they crack at the hub when they fail rather than wearing flat. A roller with visible flat spots will thump as the door rolls.
Point 6: The hinges. Hinges are the pivot points between panels. Look for cracks at the bend, and check that the hinge is tight against the panel. Loose hinges rattle and grind and let panels shift slightly out of alignment. A hinge that’s bent means the door has been binding, which sends you back to point 4.
Point 7: The lift cables. These are the steel cables running up each side of the door from the bottom bracket. With the door closed, look for fraying, broken strands, or rust. Run a gloved finger along each cable and feel for a rough section. Any fraying at all means the cable needs replacing by a technician, full stop. A frayed cable under tension can snap without warning.
Point 8: Reading torsion spring fatigue without touching anything. This is where most homeowners do the wrong thing and put their hands on the spring. Don’t. You can read a lot about a torsion spring’s condition with your eyes alone:
- The spring should look uniform in color. Rust spotting or flaking paint along its length is a sign of age and stress.
- Look for a visible gap between the coils when the door is closed. A slight gap is normal, but a wide gap or coils that have clearly unwound is a warning.
- Compare the color code painted on the spring to what you see. That painted band identifies the spring’s wire size after the fact, so a changed or faded band tells a technician the spring has been replaced before or has aged.
- Listen to the door as it opens. A sharp metallic crack or a door that suddenly feels much heavier than it did last month points to a spring that’s about to fail or already has.
That’s it. If any of these point to a problem, call a technician. Torsion springs are under enormous tension and are one of the most dangerous parts of any home to handle. A tech can measure the spring’s wire size and coil count and replace it safely, and that’s a job best left to someone who does it every day. Our technicians have up to 14 years of experience with this repair, and it’s a specialty we take seriously.
Points 9-12: Auto-Reverse, Photo-Eyes, Force Settings, Fasteners
These four points are on the opener side, and they’re the ones most homeowners skip. They matter for safety and for the longevity of the door.
Point 9: The auto-reverse test. This is the single most-skipped step on every checklist, and it’s the one that most affects safety. Here’s how to test it correctly:
- Lay a small piece of wood, or an actual 2×4 laid flat, on the ground under the door, in the center of the opening.
- Close the door using the wall button or remote and watch it come down.
- The door should reverse direction when it contacts the object. If it stops and holds without reversing, or grinds down on the object without backing up, the auto-reverse is failing.
Test it every time you run the checklist. Document the result in your log. If the door doesn’t reverse, that’s a safety issue that should be diagnosed by a technician, not adjusted by trial and error. On modern LiftMaster and Chamberlain openers, the auto-reverse setting is one of two safety systems, and the force settings that control it (point 11) are the other. Between the two, the auto-reverse test is the one you can do safely yourself.
Point 10: The photo-eye sensors. These are the two small lenses near the bottom of each track, one on each side of the door. They should point at each other and have a clear line of sight. Wipe them clean with a soft cloth. Break the beam with your foot while the door is closing and confirm the door reverses. On a Genie or Chamberlain unit, the sensor LED is a solid light when it’s happy and blinking when it isn’t. A blinking LED after a wipe means the sensors are out of alignment or the wire has an issue.
Point 11: The opener’s force settings. These live inside the opener head, usually on a dial or in a digital menu, and they control how much force the opener applies to move the door. If the door binds (point 4) or a spring weakens (point 8), the opener’s force setting can mask the problem for a while, and then it fails worse than it would have otherwise. We don’t recommend homeowners adjust force settings themselves. Every opener brand, including Genie and Craftsman, has its own adjustment method, and getting it wrong can turn an auto-reverse failure into a serious hazard. If the opener is straining, ask a technician.
Point 12: The fasteners. Run a look over every bolt and lag screw you can see: the hinges, the bottom brackets, the track brackets, the opener’s mounting hardware. A loose bolt here and there is normal and you can tighten those yourself with a socket wrench. But if the same fastener keeps loosening, something else is moving that shouldn’t be. That tells you the door has a balance or alignment problem underneath.
Which Lubricants Survive Houston Heat (and Which Don’t)
Lubrication advice online is usually written for a climate where 85°F is a warm day. In Meyerland, a garage gets hotter than that, and the wrong lubricant turns into a problem of its own.
What to use:
- Silicone spray or a white lithium grease for the torsion spring, applied in a thin coat. These are the standard recommendations for a spring, and they hold their viscosity at the temperatures a Houston garage reaches. White lithium is the more durable of the two if the door sees a lot of cycles.
- Silicone spray for the rollers, hinges, and the pivot points of the track brackets. Silicone is dry, doesn’t hold dust, and doesn’t run off in the heat.
- Nothing on the track itself. Tracks stay dry and clean.
What to avoid:
- Petroleum-based grease and WD-40 anywhere on the spring or rollers. Petroleum grease thins and runs at high temperatures, and the run-off lands on the door, the track, and the floor. WD-40 is a solvent, not a lubricant, and it leaves metal drier than it started.
- Any grease on a torsion spring. A heavy grease will attract grit and, when it softens in Houston heat, act like a magnet for the fine grit that ends up in any garage. You want a thin film, not a coat.
- Heavy motor oils or automotive grease on the tracks. These gum up with dust and stuck rollers. Not worth it.
Apply lubrication two or three times a year, and always right after you’ve cleaned the tracks and hinges. A door that’s been lubricated with the right products runs quieter, and it also makes the next checklist run faster because you can hear a dry hinge before you see it. If you’d rather have a technician handle the lubrication and check the spring at the same time, we can do both in a single visit, and we’ll tell you what products we used and why.
Building a Door Log That Shortens Diagnosis Time
A garage door is a simple machine, but it changes slowly. Most homeowners notice something is wrong long before it fully fails, and then struggle to describe what changed and when. A one-page log fixes that, and it makes a real difference when a technician comes out.
Here’s a template you can copy into a notes app or write into a small index card and tape to the inside of a garage cabinet door:
- Date
- Checklist run? (Y/N)
- Auto-reverse passed? (Y/N)
- Any noise, hesitation, or binding noticed?
- Any visible rust or seal damage?
- Balance test result (drifts up / stays / drifts down)
- Notes – anything you noticed that felt different, and when you started noticing it
That’s it. The log takes thirty seconds to fill out each time you run the checklist. When you call a technician, you can say “the door started hesitating about a month ago and the balance test drifted down last check” instead of “it’s been acting weird.” That changes the diagnosis entirely. Hesitation a month ago plus a balance drift from a month ago points straight to spring fatigue, and the technician can plan the visit correctly.
The log also protects you when the problem gets worse. If something breaks and you want to know whether it was a slow failure or a sudden one, the log tells you. That’s useful for the repair and useful for any future garage door installation conversation if the door eventually needs replacing. In Meyerland, where the humidity drives the same failure chain on nearly every door, a log is the single highest-value five minutes you can spend on your garage door all year.
Common Mistakes to Avoid
- Greasing the track. Every guide you’ll read will tell you not to grease the track, and yet it’s the most common mistake. Grease on a track collects grit, the rollers wear fast, and the door gets louder instead of quieter. Clean tracks with a dry cloth and leave them alone.
- Touching the torsion spring or adjusting it yourself. Springs are under tension that can cause serious injury in an instant. A homeowner who “just needs to tighten” a spring or replace a broken one is one of the worst positions in this trade. Leave it to a trained technician.
- Ignoring a frayed cable because the door still works. A cable with visible fraying can hold for months or snap the next cycle, and there’s no predictable warning. Replace it as soon as you see it.
- Skipping the auto-reverse test. The auto-reverse can fail silently with no other symptom. Testing it takes a minute and it’s the single most important safety check on the entire list. On a Chamberlain or Genie unit, the test is the same on every model.
- Adjusting the opener’s force settings to compensate for a binding door. It masks a balance or alignment problem and leaves the auto-reverse untested. Fix the door, not the force setting.
- Waiting for the seal to fail before replacing it. In Meyerland, the seal is the cheapest part on the checklist and it’s the root of the failure chain. Replace it when it goes stiff or torn, not when the bottom panel is already rusting.
- Skipping the log because it feels like extra work. A two-minute log is the cheapest diagnosis tool you’ll ever own. It turns “it’s been weird” into a five-line history a technician can read in a few seconds.
When to Call a Professional
Most of the checklist above is safe to run yourself. A short and specific list of things isn’t. Call a technician when the door’s balance test drifts on its own, when a torsion spring shows rust, a gap, or a metallic crack when opening, when a lift cable is frayed or rusted, when the auto-reverse fails or hesitates, or when the door binds in the track after you’ve cleaned the tracks and tightened loose hardware. The same goes for an opener that’s straining or a photo-eye that won’t hold alignment after cleaning.
Garage Door Repair Meyerland offers free estimates in Meyerland. Call (866) 937-7492. We’ll look at the door, tell you what we see, and give you a written price before any work starts, so you’re never guessing what the final number will be. If you’re in a pinch and need garage door opener repair, we can usually work with your schedule and give you a clear picture of what’s wrong and what it takes to fix.
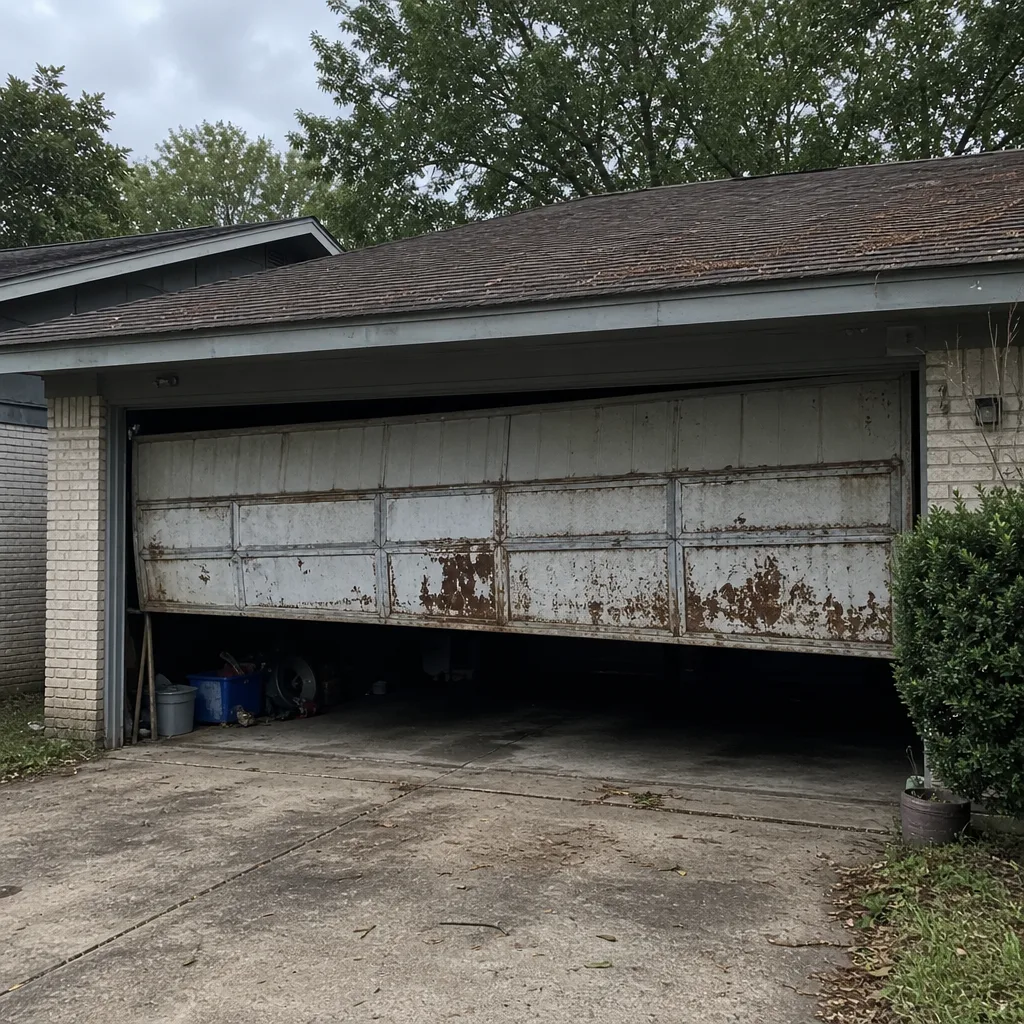
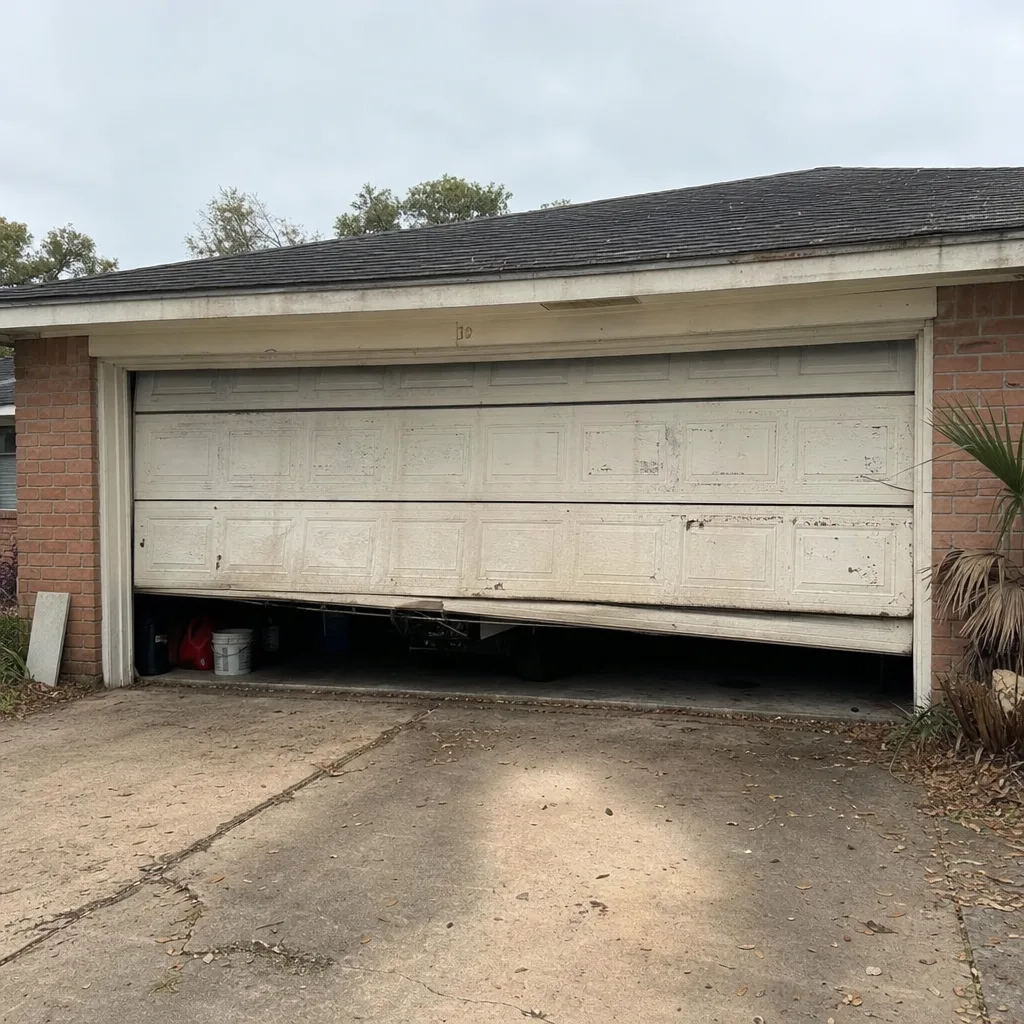
See the difference
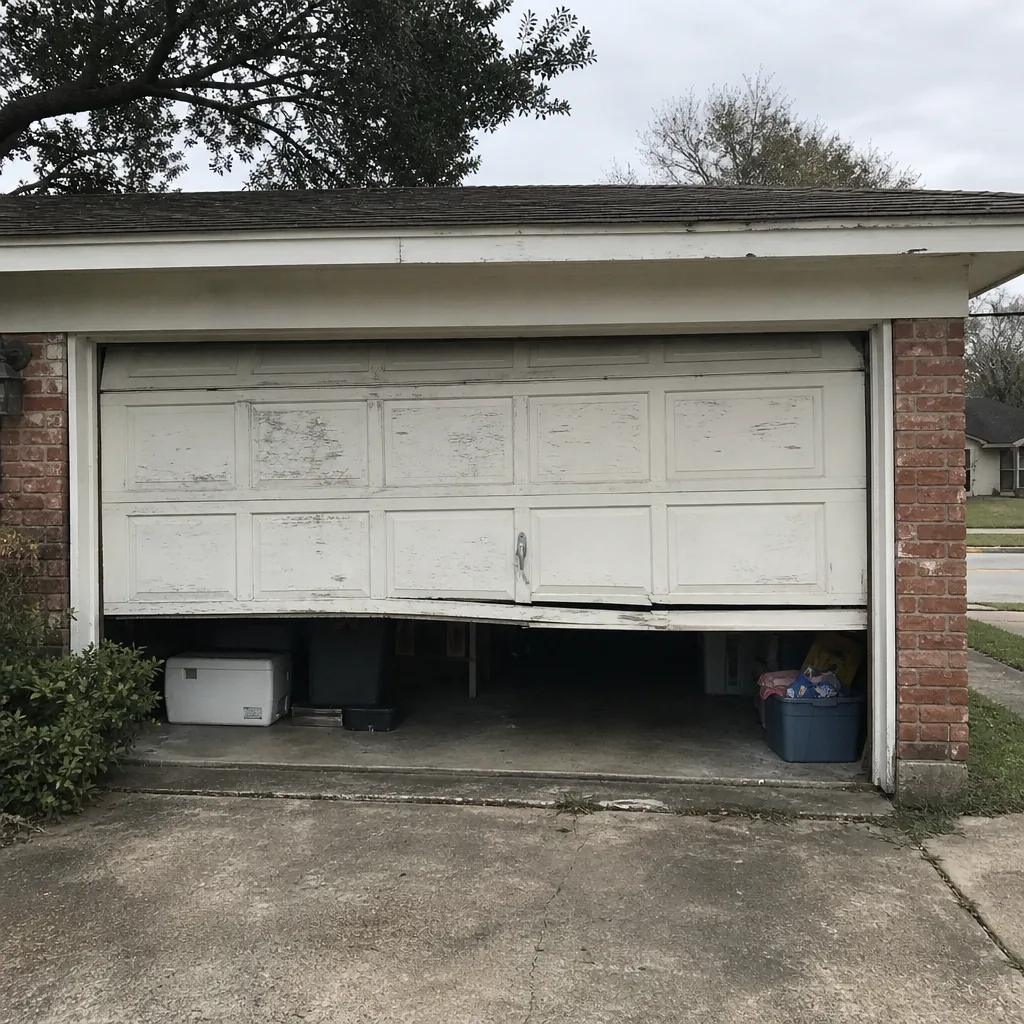 Before
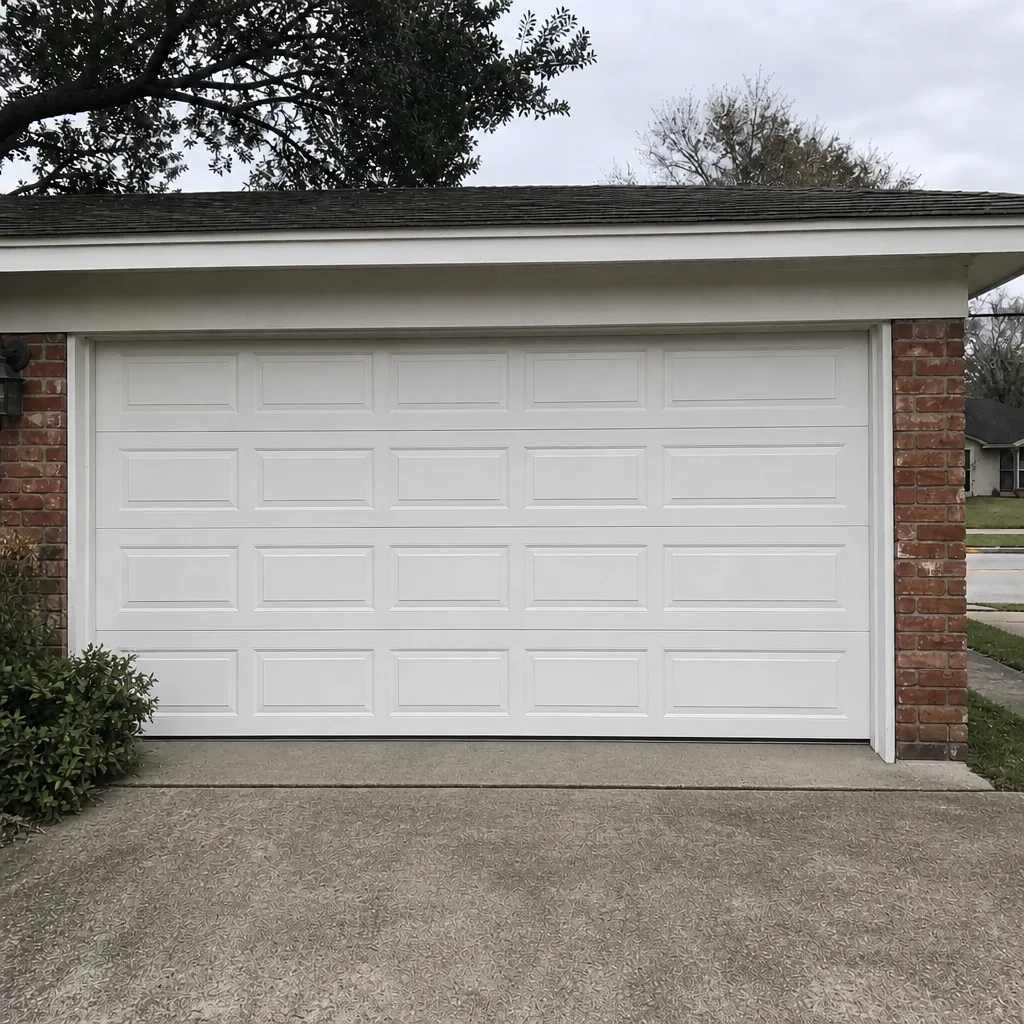 After
 Before
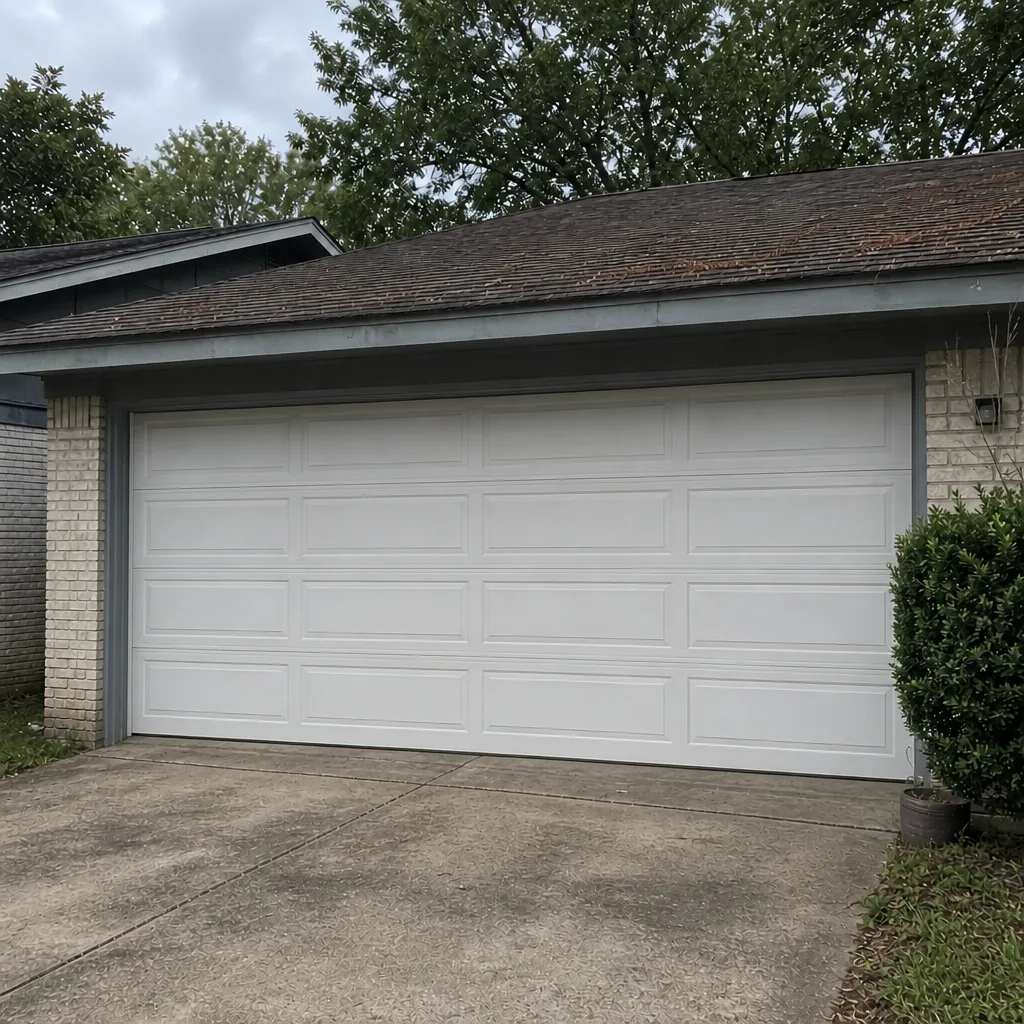 After
 Before
 After
Frequently Asked Questions
Every three to six months, and always right before the hottest stretch of the year. The humidity in Meyerland drives the seal and bottom panel to fail faster than in a dry climate, so a light check every three months catches problems while they’re still cheap. Run the full 12-point checklist twice a year, and do the auto-reverse test every time you run it.
You can wipe it clean and apply a thin coat of silicone or white lithium spray, but anything more than that should be left to a technician. A torsion spring is under tension, and the way it looks on the outside doesn’t always match the state of the spring on the inside. If the spring shows rust, a gap in the coils, or a metallic crack when you open the door, call a technician instead of touching it. Call (866) 937-7492 if you’re unsure.
The auto-reverse test, by a wide margin. Most homeowners run through the visual checks and never test the safety reverse because it takes an extra minute and requires a piece of wood under the door. It’s the single most important safety check on the list, and on modern LiftMaster and Chamberlain openers the test is identical. Skip it and you’ve skipped the point of the whole checklist.
The seal along the bottom of the door softens in high humidity, stops sealing tightly, and lets moisture collect on the bottom panel. That panel then rusts, bows, and pulls the door out of square so it binds in the track. It’s one chain, and it starts at the seal. Replacing a stiff or torn seal early in Meyerland prevents most of the riskier problems that follow.
No. An auto-reverse that works sometimes and fails sometimes is a safety system that needs a technician. Intermittent auto-reverse is often a sign of a binding door, failing springs, or a misaligned photo-eye sensor, and it can fail on the exact cycle you need it to work. Call (866) 937-7492 for a free estimate and have it diagnosed rather than adjusted by guesswork.
It can shorten the visit, which is how it saves. A technician who reads a month-by-month log knows the difference between a sudden spring break and a slow decline, and can arrive with the right parts and plan the repair around one visit instead of two. In Meyerland, where we see the same failure sequence on most doors, the log is the fastest way to tell us where in that sequence your door is.
The Bottom Line
Your garage door is likely the largest moving part of your home, and in Meyerland the climate makes it fail in a predictable order. Seal first, then bottom panel, then balance, then track, then everything downstream. Run the checklist in that order every three to six months, lubricate with the right products for Houston heat, test the auto-reverse every time, and keep a simple log so a technician can read the door’s history in thirty seconds. Most of the checklist is safe for you to run yourself. The spring and cable work is not. When you find something in that category, or when the door starts binding after cleanup, it’s time for a specialist. At Garage Door Repair Meyerland, every job is a garage door job, and we’re familiar with the brands already installed in your home, from LiftMaster and Chamberlain to Clopay and Genie. If you’d like a free estimate, garage door repair in Meyerland starts with a phone call.
Ready to get your door checked? Call (866) 937-7492 for a free estimate. We answer 24/7. Fast dispatch from 7am to 7pm, Sunday through Friday.
Written by the team at Garage Door Repair Meyerland.